








How-to
How to Add The Events Calendar Tickets to Apple Wallet & Google Wallet
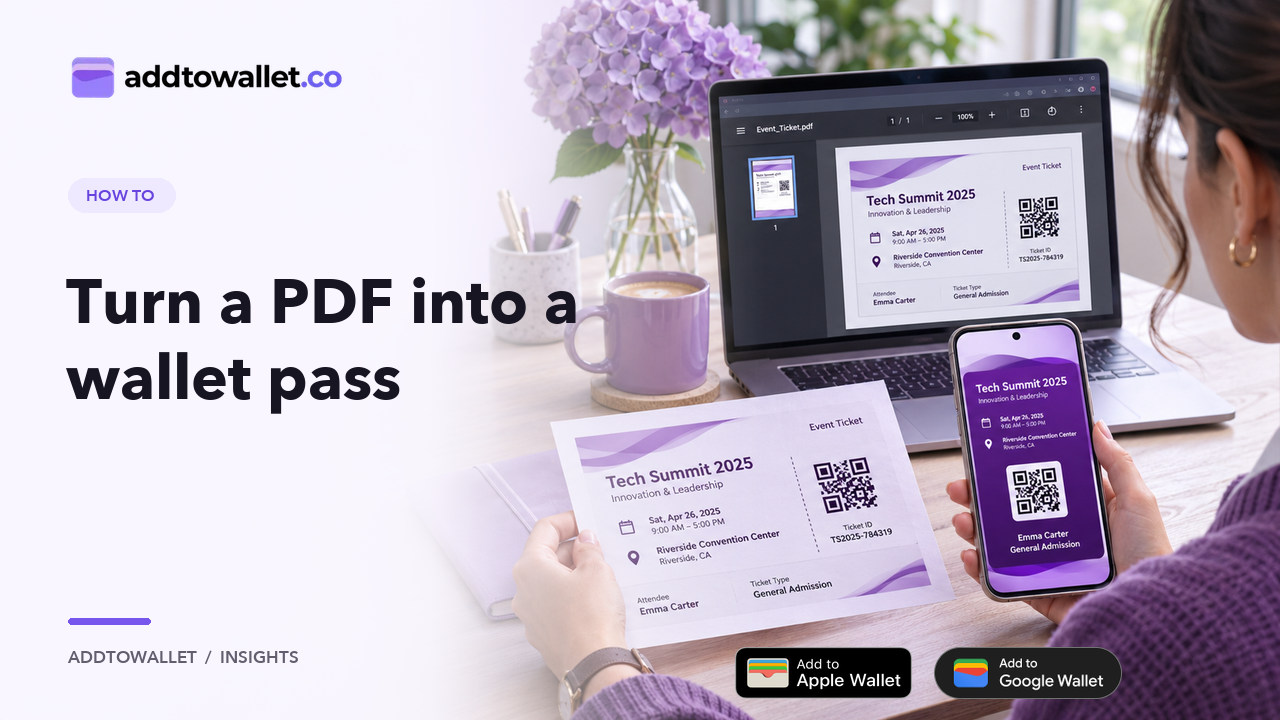
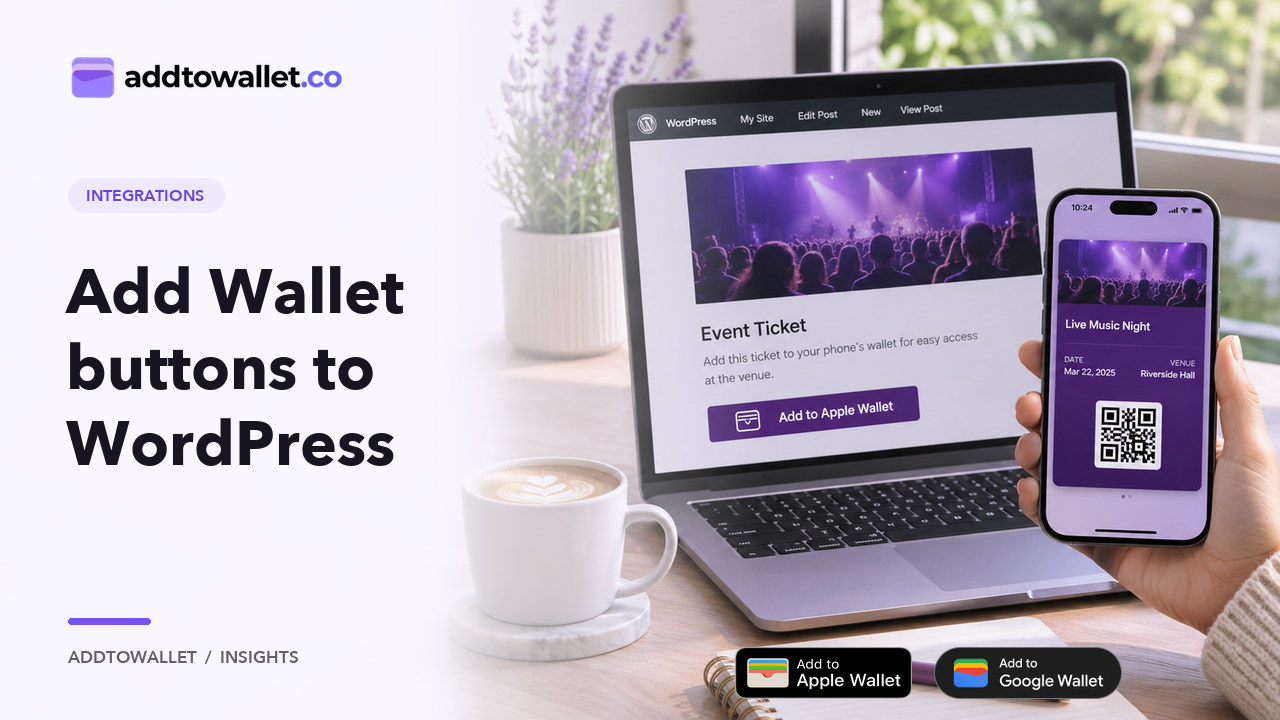
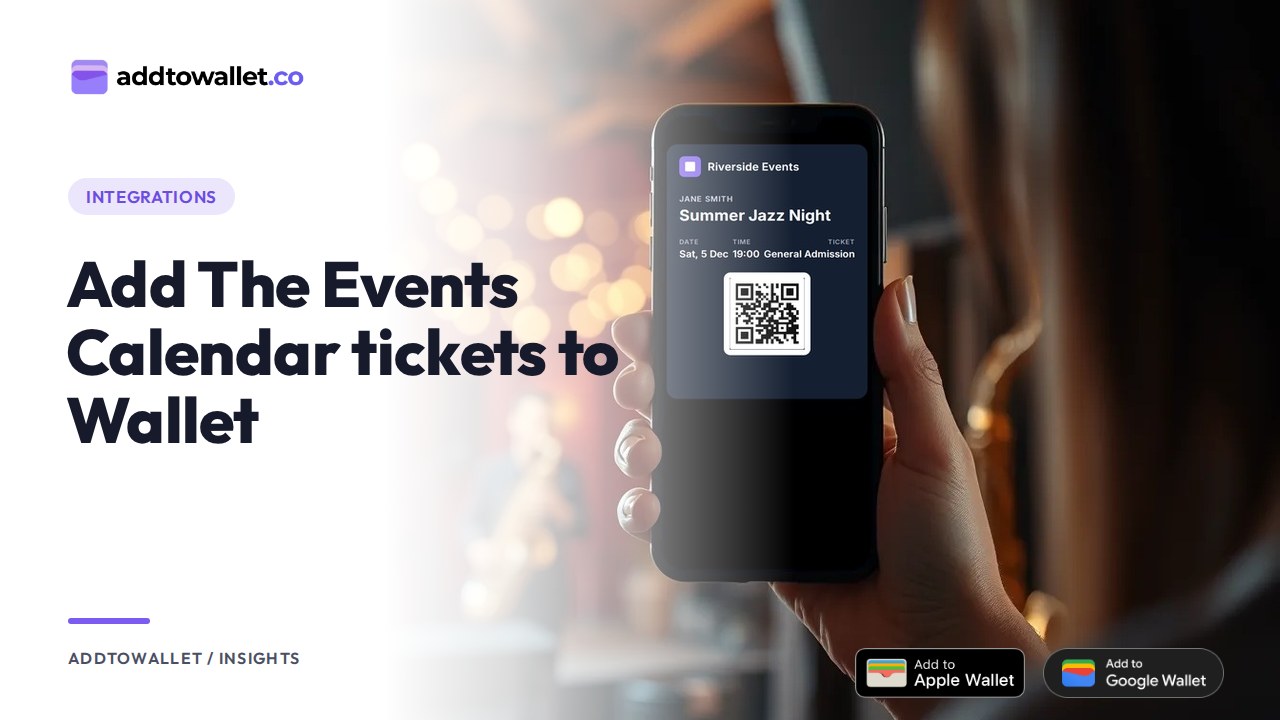
AddToWallet now lets you connect The Events Calendar with WordPress and give attendees easy access to their tickets through Apple Wallet or Google Wallet.
With AddToWallet for The Events Calendar, every ticket sold through Event Tickets can go straight into the attendee’s wallet: the event, date, time and venue, with a barcode your door staff can scan and a reminder before the event starts. The plugin itself is free; each pass uses one AddToWallet credit. This guide takes you from install to the first ticket in a few minutes.
What You Need
- A WordPress site with Event Tickets, with Tickets Commerce turned on (Tickets › Settings › Payments) and a success page set.
- The Events Calendar, for event dates, venues and organizers on the pass. It is optional: tickets sold on other posts get passes too, just without those details.
- An AddToWallet account. Each pass uses one credit from your account.
1. Download the Plugin from AddToWallet
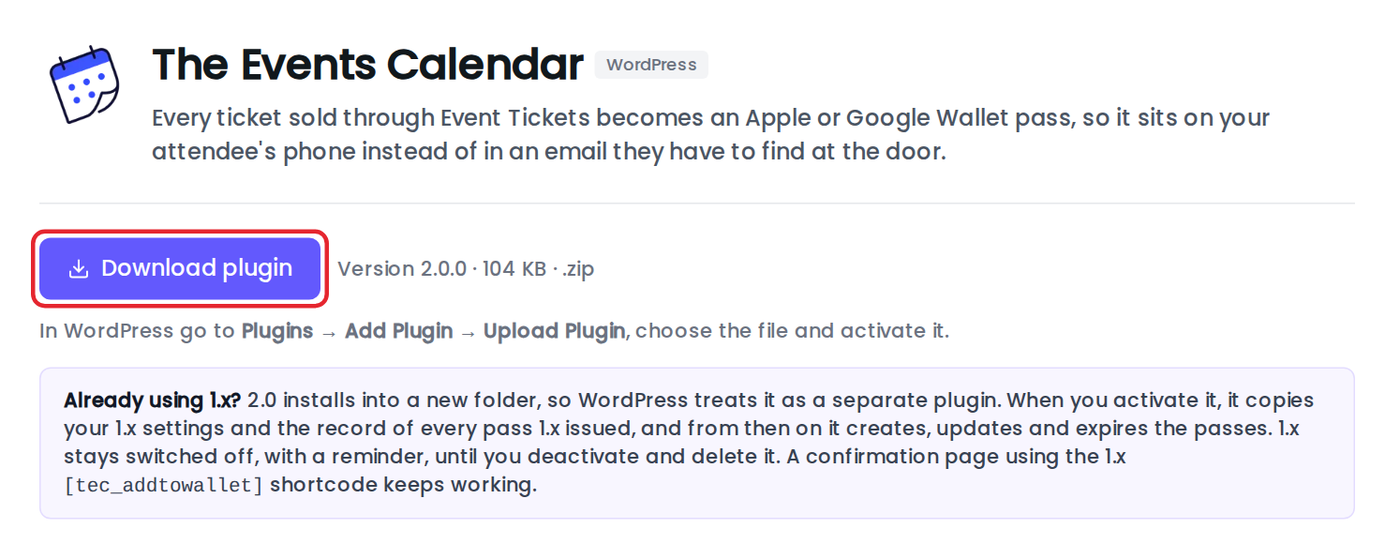
Open the The Events Calendar connector page in your AddToWallet dashboard (Integrations › The Events Calendar) and click Download plugin. You get a .zip file. Keep it zipped.
2. Upload It to WordPress
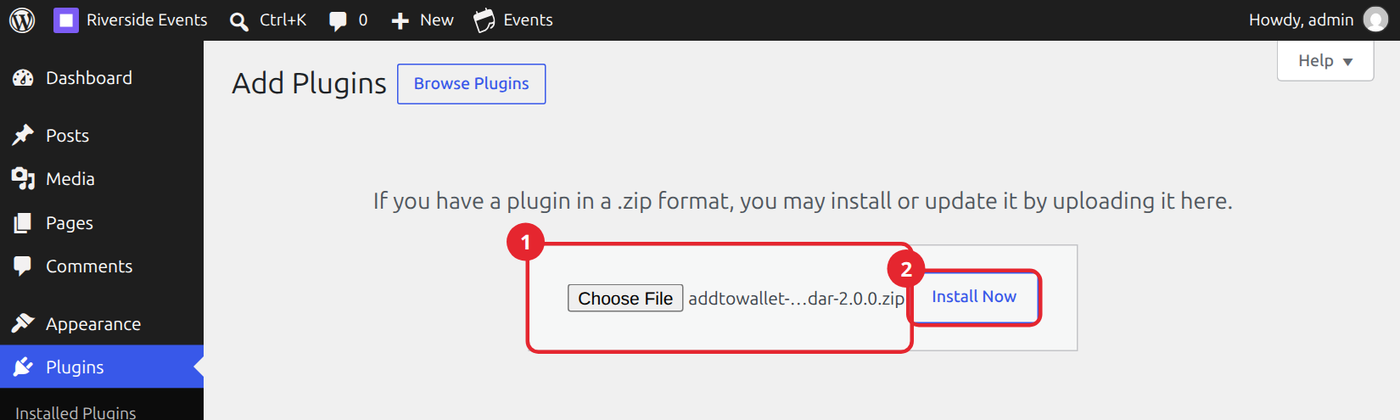
In WordPress, go to Plugins › Add Plugin and click Upload Plugin at the top. Choose the .zip you downloaded (1), click Install Now (2), then Activate Plugin.
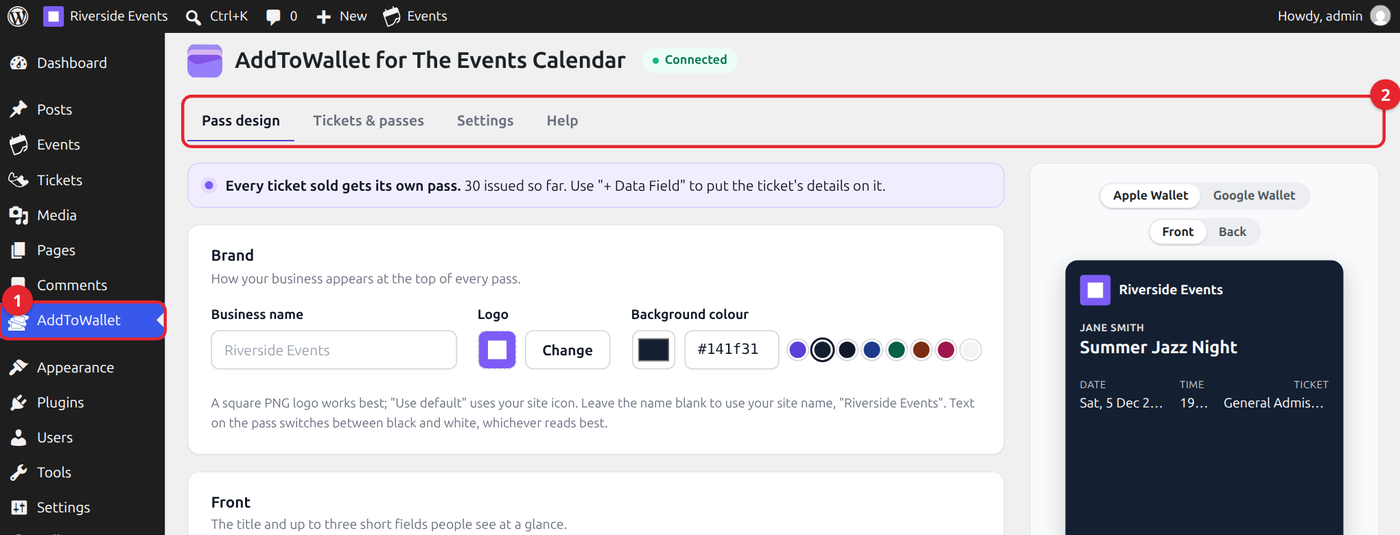
An AddToWallet item appears in your WordPress sidebar. Everything lives on that one screen, in four tabs: Pass design, Tickets & passes, Settings and Help.
Using the older AddToWallet for The Events Calendar 1.x plugin? Version 2.0 installs into a new folder, so WordPress lists it as a separate plugin. When you activate it, it copies your settings and the record of every pass the old plugin issued, then takes over. Deactivate and delete the old plugin afterwards; until you do, it stays switched off so customers never see two sets of buttons. A confirmation page that uses the old [tec_addtowallet] shortcode keeps working.
3. Connect Your AddToWallet Account
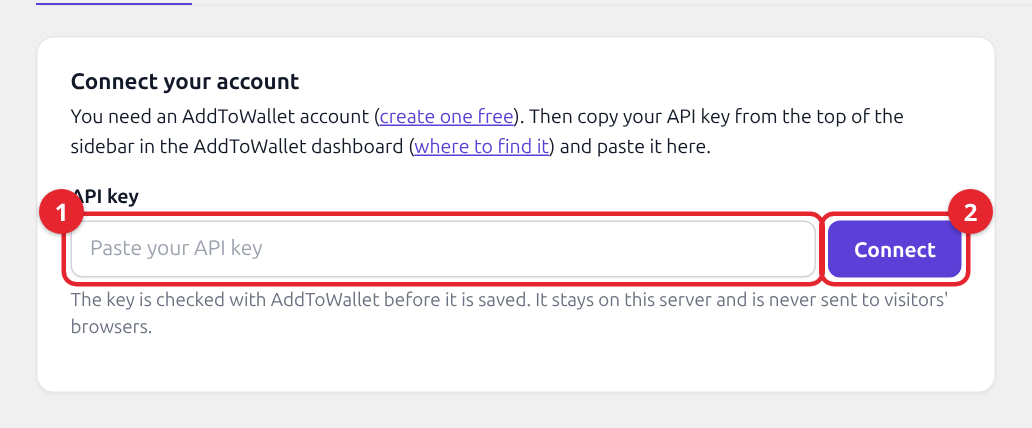
Copy your API key from the top of the sidebar in your AddToWallet dashboard, paste it into API key and click Connect. The plugin checks the key with AddToWallet before saving it.
The key stays on your server. Your visitors’ browsers never see it.
4. Design the Pass
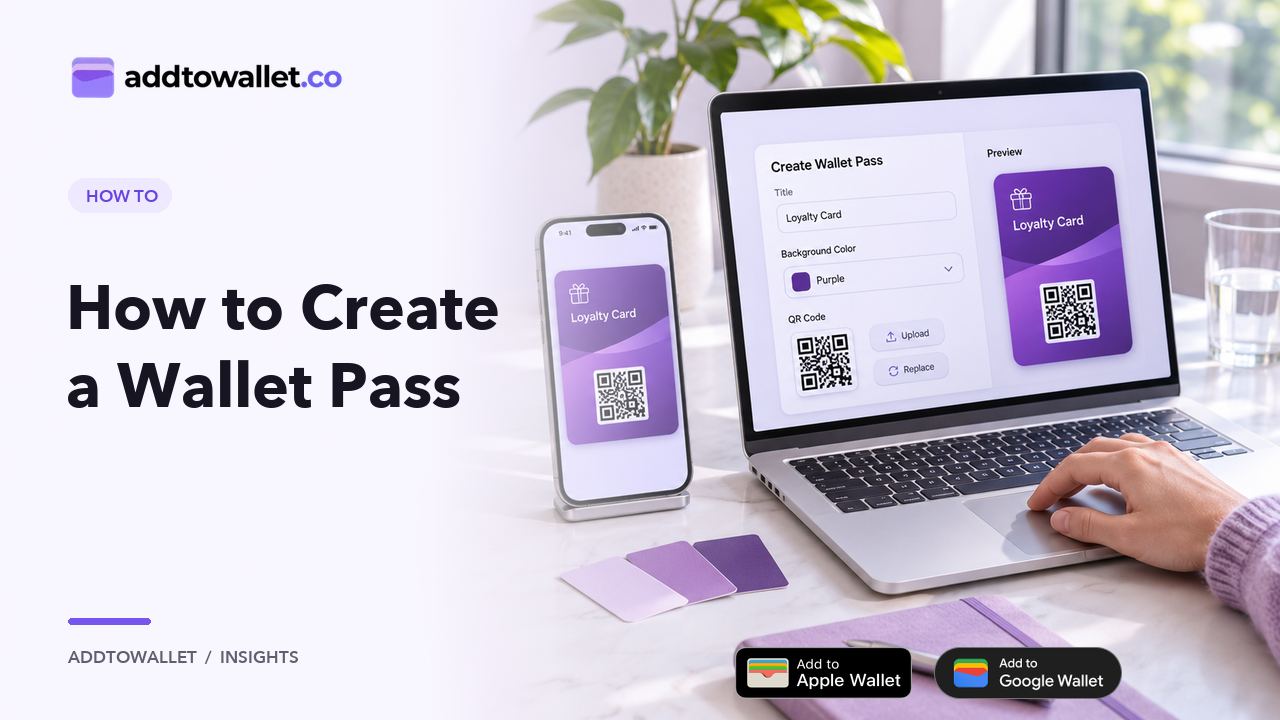
The Pass design tab is a visual editor. Everything you change shows up straight away in the live preview on the right, filled in with your latest real ticket.
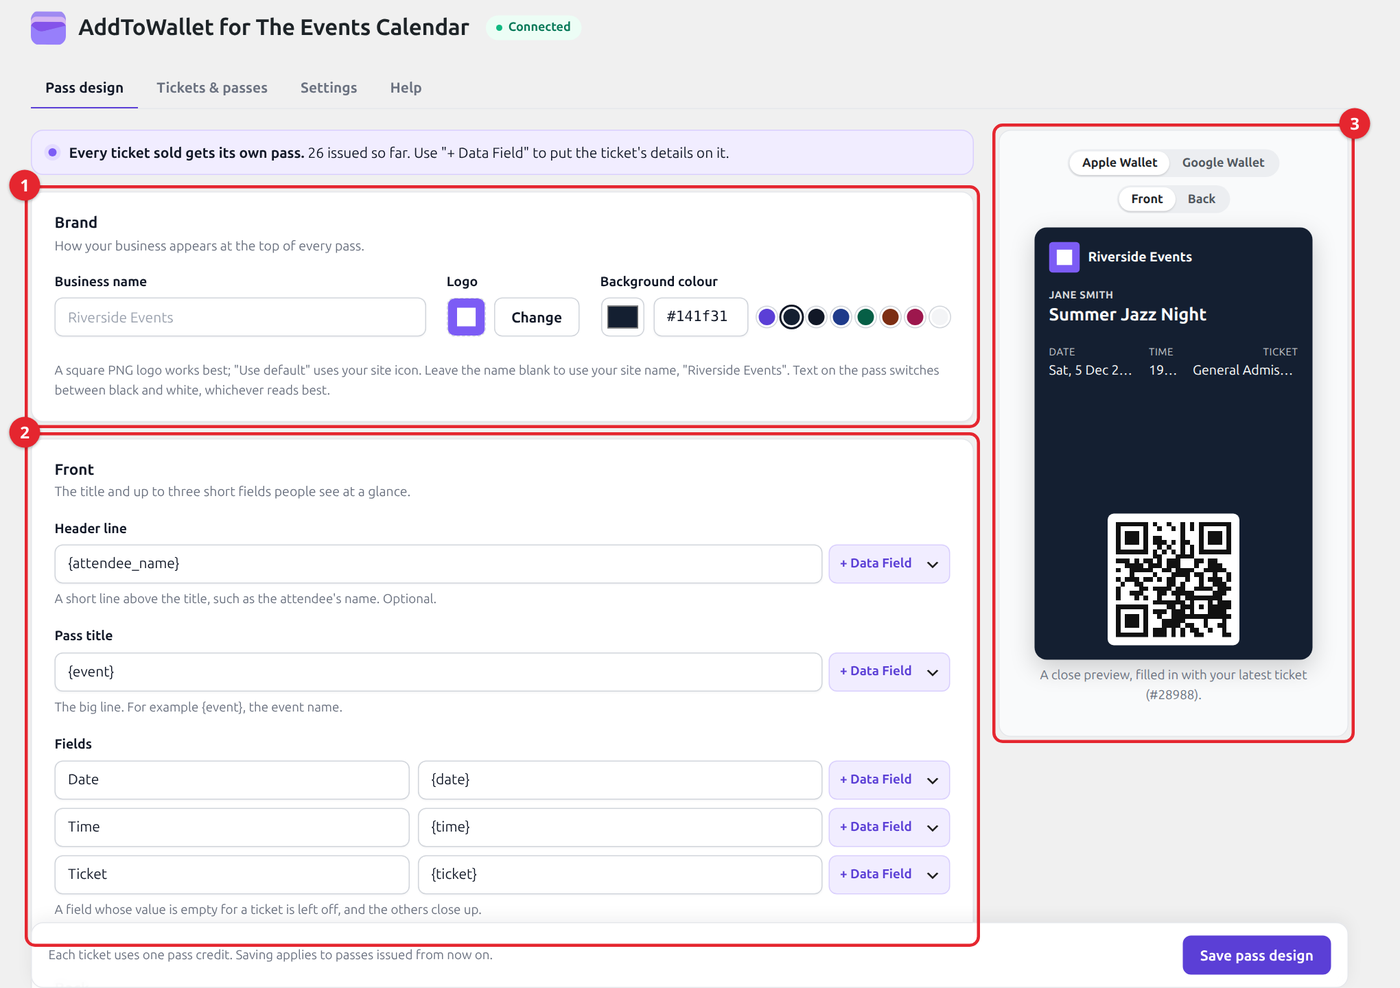
- Brand (1): your business name, logo and background colour. Leave the name blank to use your site name.
- Front (2): a header line, the pass title and up to three short fields.
- Preview (3): switch between Apple Wallet and Google Wallet, front and back.
Use + Data Field next to any line to put the ticket’s own details on the pass: the attendee’s name, the event, ticket type, date, start and end time, venue and its address, the organizer and their contact details, the event page, ticket and order numbers, the price paid and more. Each pass is filled in with that attendee’s ticket.
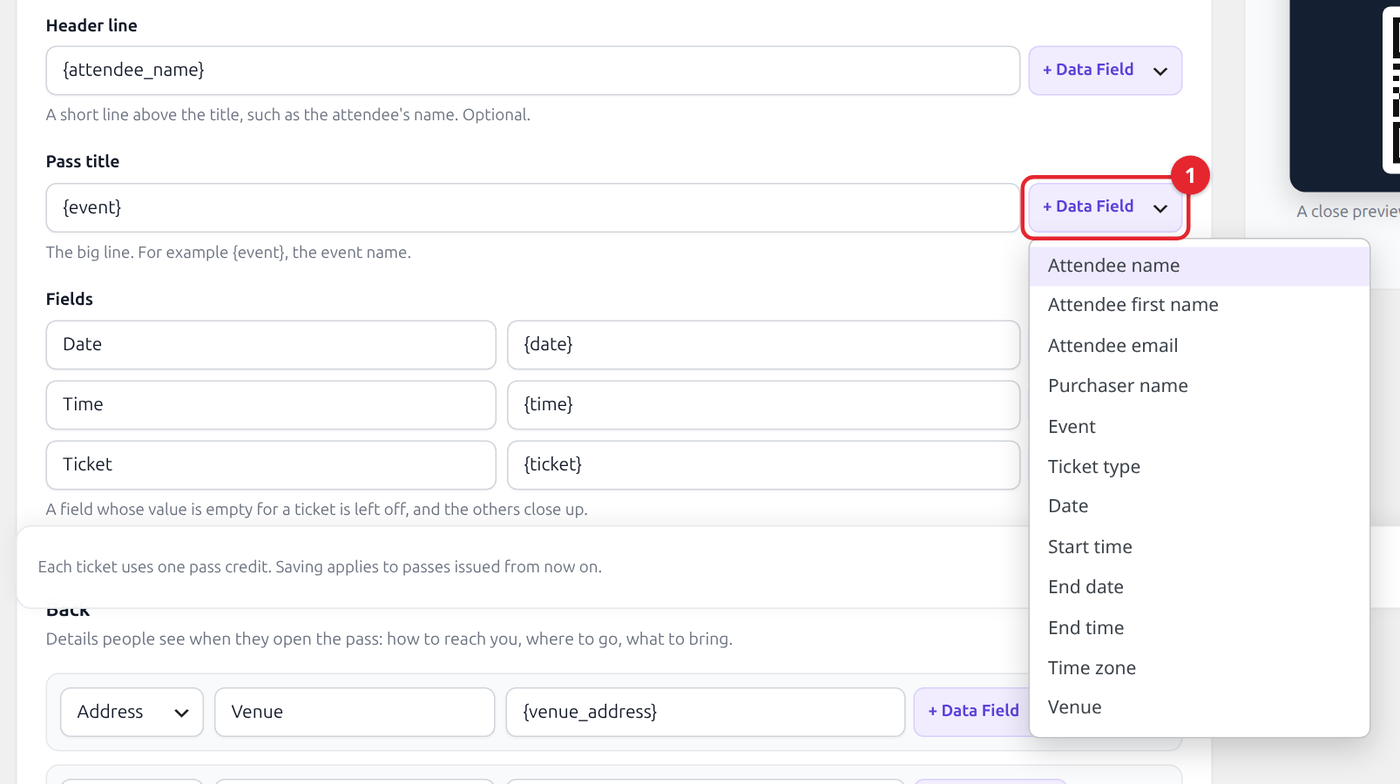
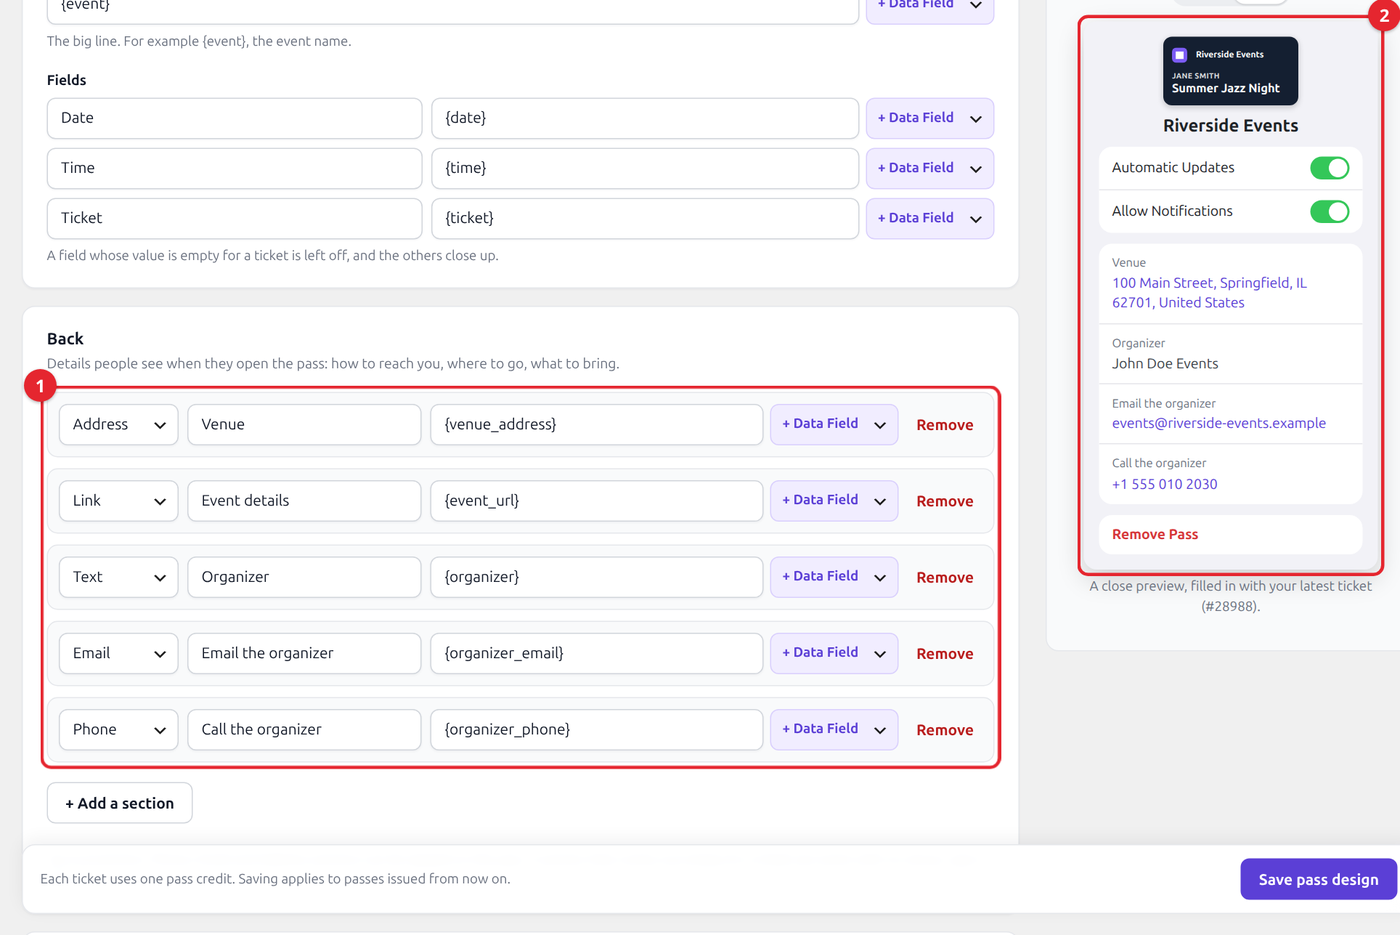
The Back of the pass is for the things people look up on the night. By default it shows the venue address (tap it to open the map), a link to the event page, and the organizer with tap-to-email and tap-to-call, all taken from The Events Calendar. Add or remove sections as you like.
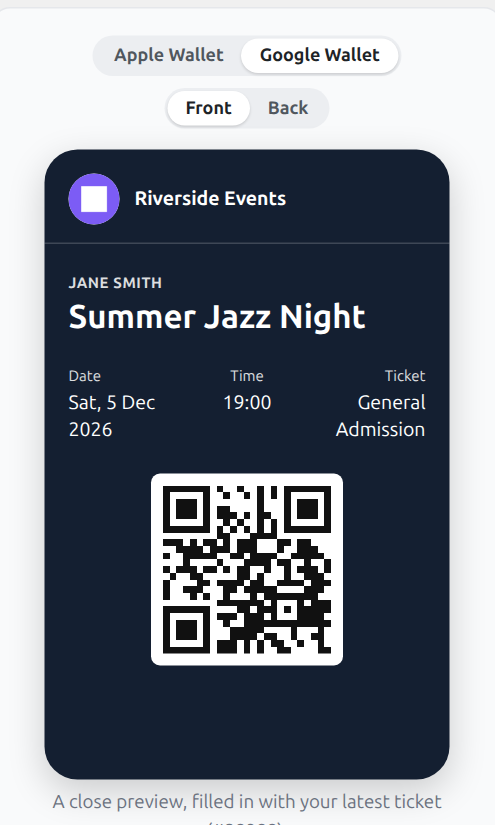
Switch the preview to Google Wallet to check how the same pass looks on Android.
Further down are a hero image (with a different image per event, if you like), the barcode format, and the Wallet reminder before the event. Click Save pass design when you are happy.
5. Choose Which Orders Get Passes
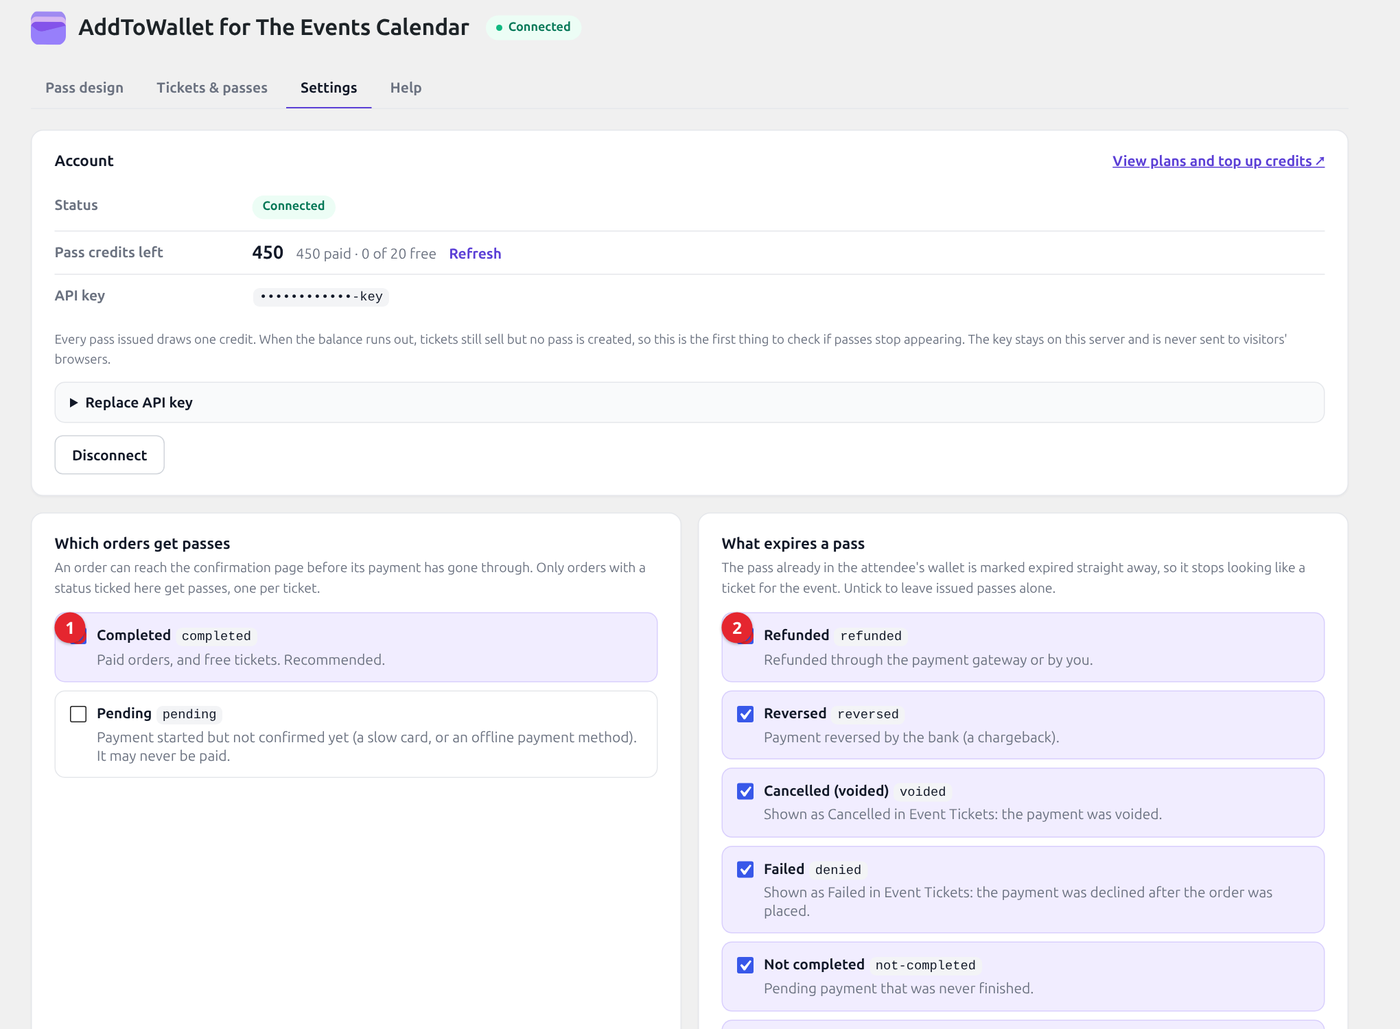
On the Settings tab you decide which orders get passes (1) and what expires them (2). By default, completed orders get passes, which covers paid orders and free tickets, and refunded, reversed, cancelled and failed orders expire theirs. You can also issue passes while a payment is still pending, though it may never be paid. The same tab shows how many pass credits you have left, and warns you if Event Tickets has no success page set.
6. What Your Attendees See
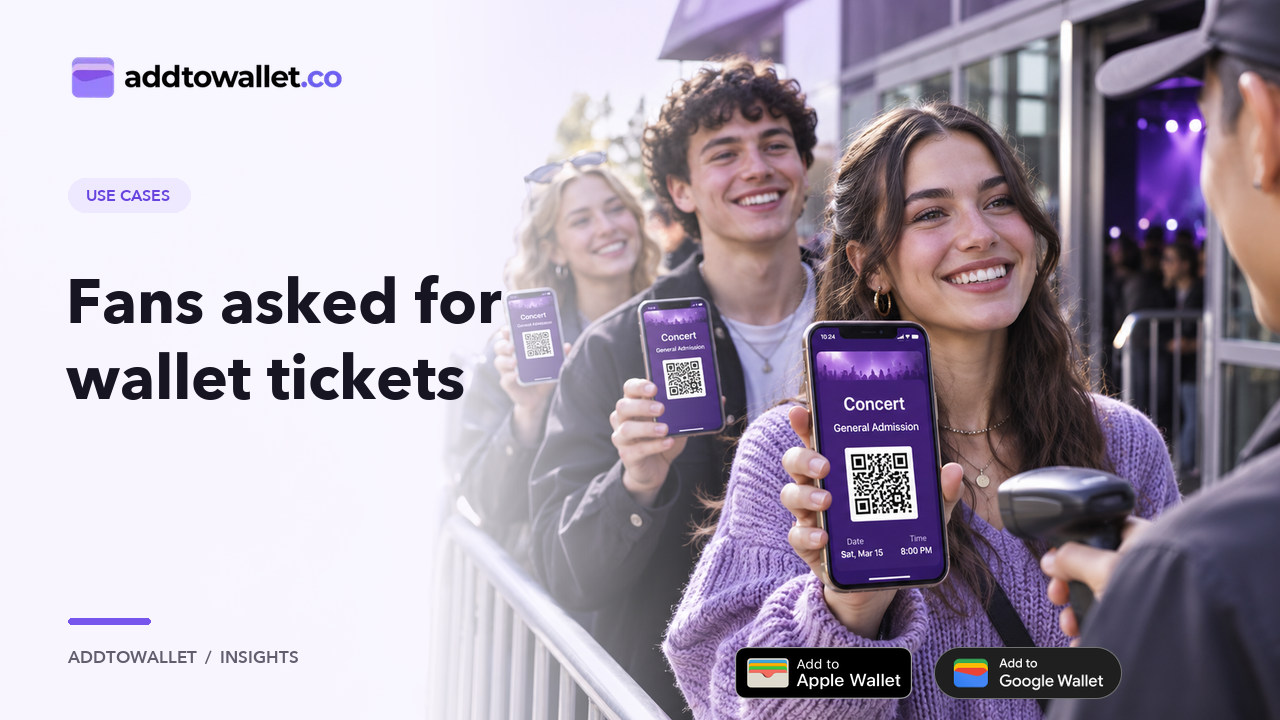
People buy tickets exactly as before. On Event Tickets’ order confirmation page, right under their tickets, they now get Add to Apple Wallet and Add to Google Wallet buttons. An order for several tickets gets one pass per ticket, each labelled with the attendee’s name, because each person needs their own barcode at the door.
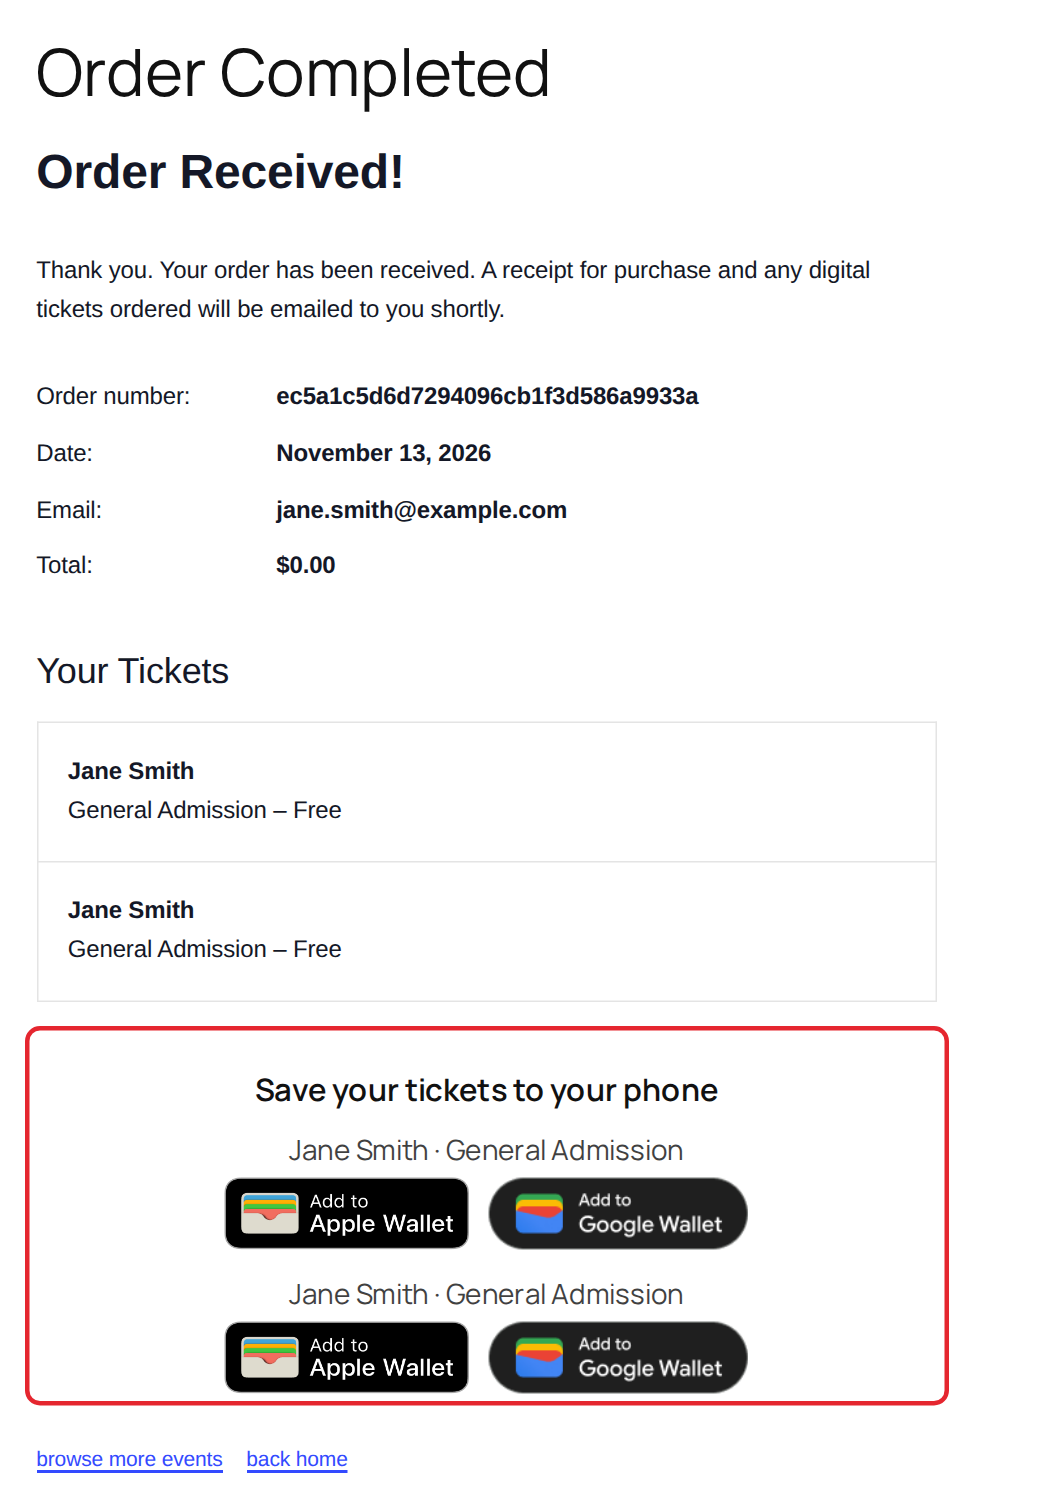
The barcode carries the ticket’s Event Tickets security code, the same code its own check-in uses. Reloading or sharing the confirmation page never creates a second pass for the same ticket, and when a card payment takes a moment to confirm, the page waits for it. To place the buttons somewhere else on the page, use the [atw_tec_wallet_passes] shortcode.
7. Refunds, Cancellations and Changes Are Handled for You
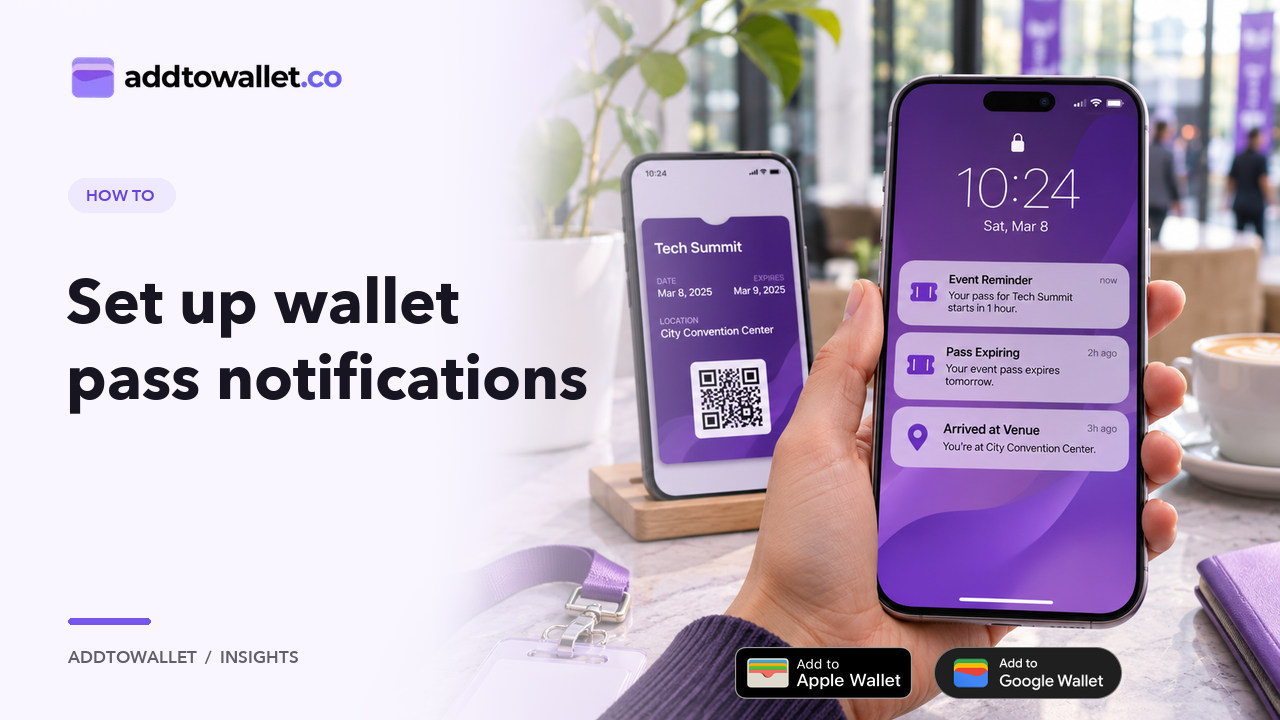
When an order is refunded, cancelled, reversed or fails, when a ticket is deleted, or when you set the event’s status to Canceled in The Events Calendar, the pass in the attendee’s wallet is marked expired straight away. When the event moves, changes venue, or anything else on the pass changes, the pass is updated to match, without using another credit. This all happens on your server, so nobody needs to have a page open.
8. Keep Track of Every Pass
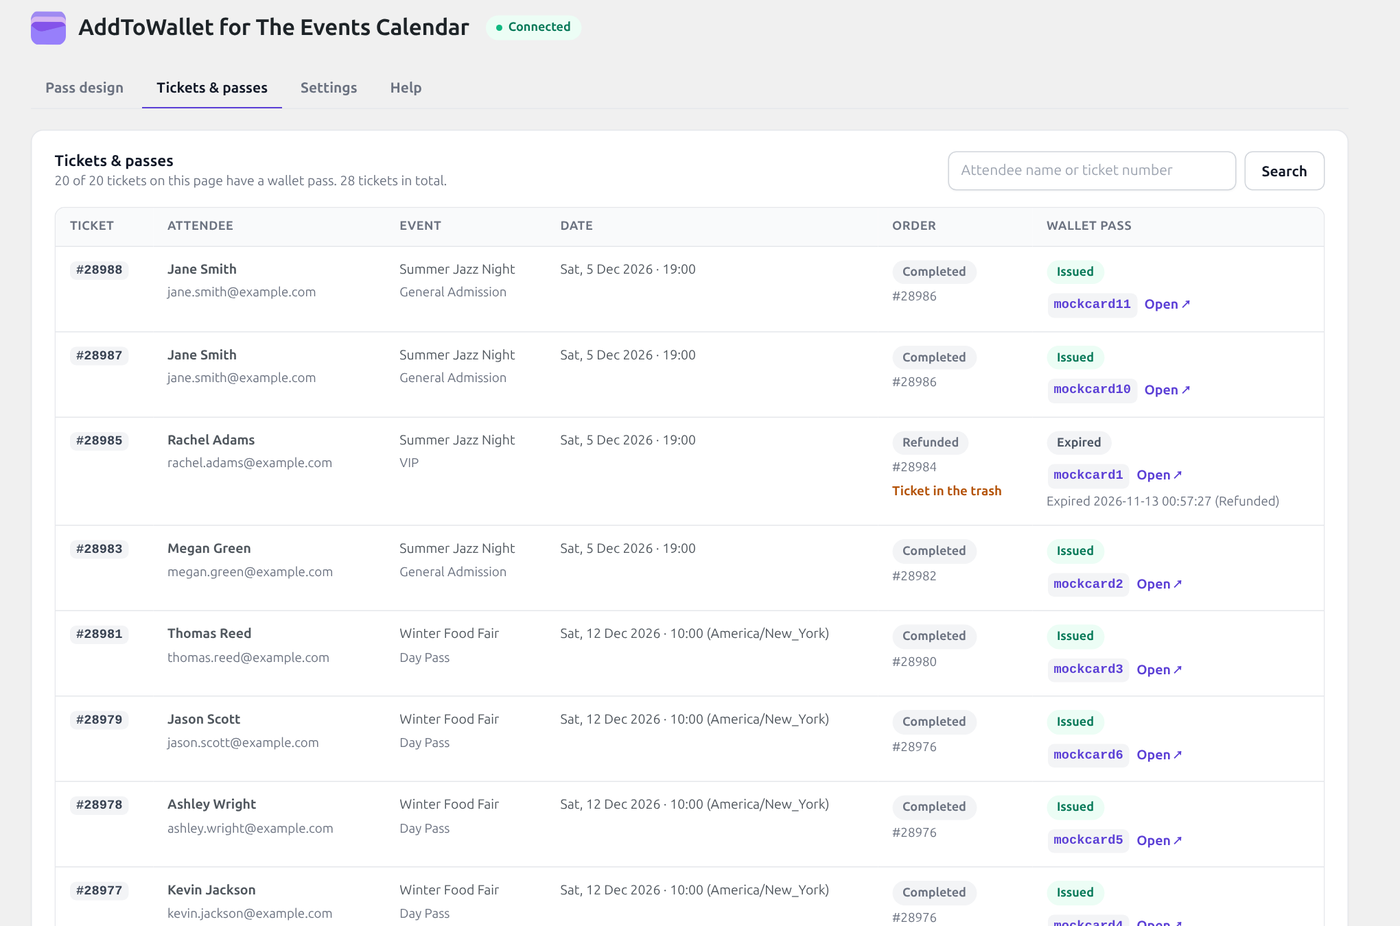
The Tickets & passes tab lists every ticket with its order status and its pass: issued, updated, expired, or why one was not issued. Search by attendee name or ticket number.
Frequently Asked Questions
No buttons appear after checkout. What should I check?
Usually one of three things: Event Tickets has no success page set (Tickets › Settings › Payments), so buyers never see a confirmation page; you are out of credits; or the order has a status you do not issue passes for. The Tickets & passes tab shows which one it is.
Do RSVPs get a pass?
Not yet. Passes are issued for tickets sold through Tickets Commerce, free or paid.
Does expiring a pass refund the credit?
No. Each pass uses one credit when it is created; updates and expiry are free.
That’s it. Download the plugin, connect your account, and every ticket you sell can live in your attendees’ wallets.
Get AddToWallet for The Events Calendar