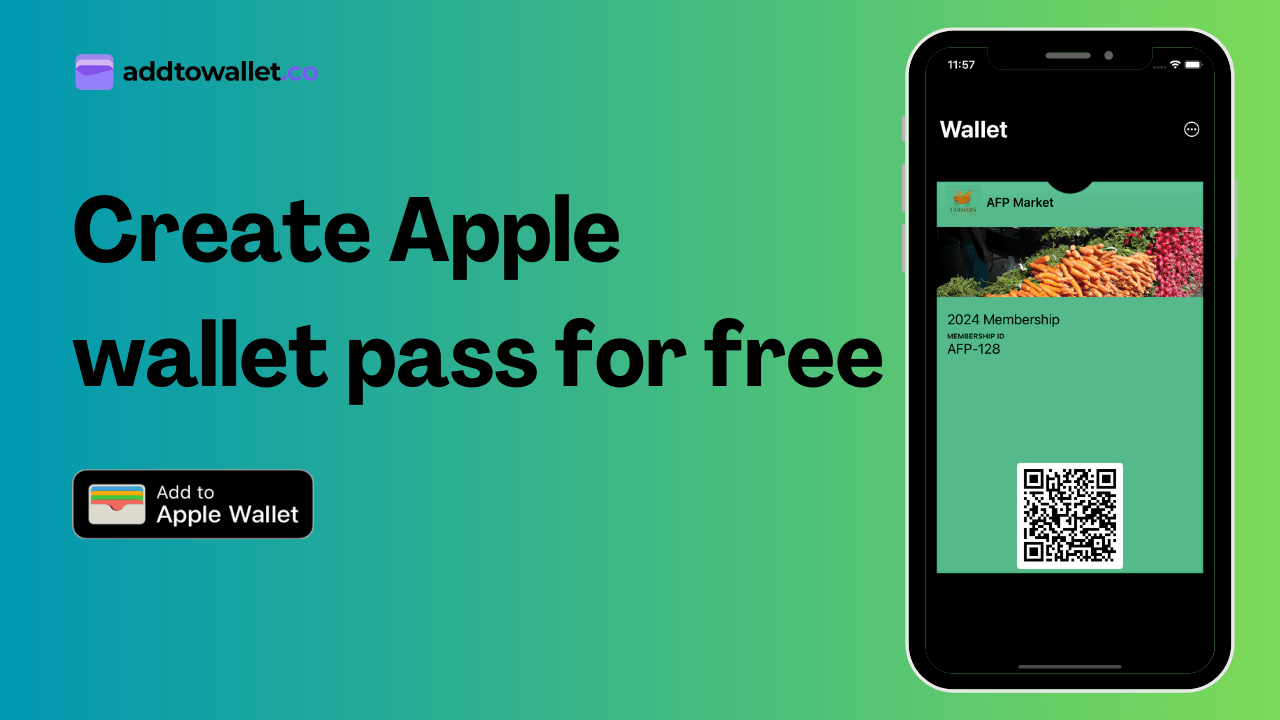
Build Forms and Auto-Generate Wallet Passes
Step 1: Open the Create Form Page
- Go to the Manage Form tab, here you will see all the existing forms.
- Create New form to go to form builder page.
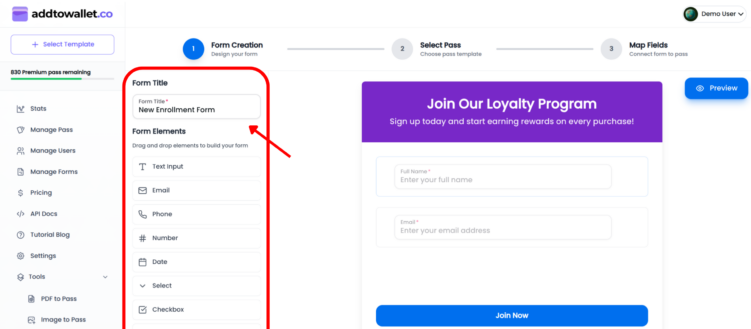
Step 2: Build Your Form Layout
- Once the form builder appears from the right panel, drag and drop the fields you need.
- To change the input label or placeholder, click the Edit icon. You can also mark a field as required by checking the Required checkbox.
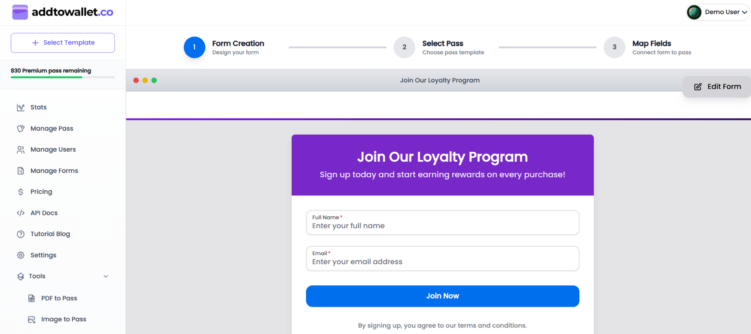
- Click on preview icon on top right to preview form
- To change the input label or placeholder, click the Edit icon. You can also mark a field as required by checking the Required checkbox.
- Click on preview icon on top right to preview form
- Once you’ve confirmed your changes, click Step 2 to continue.
Step 3: Select a Template for Mapping
Select the pass you want to use as a template. This template will be used to map your form fields.

Step 4: Map Your Form Fields
Map your form fields to the pass template. Click on any field in the pass preview, and a popup will appear showing all the form inputs. Select the appropriate input to map it to that pass field.
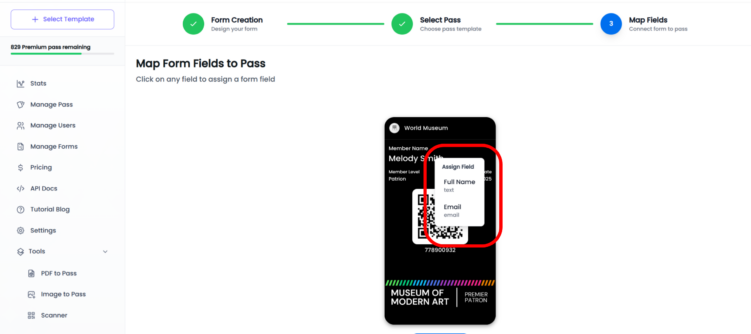
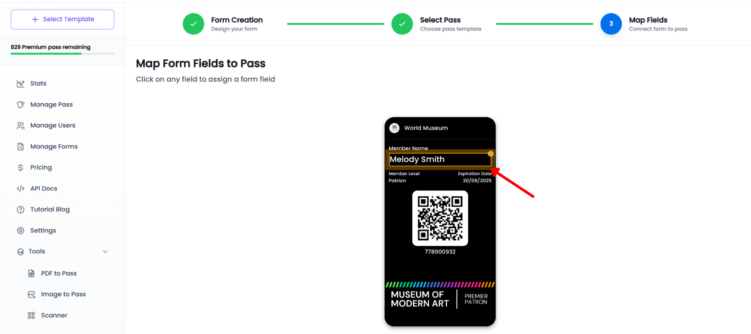
Once a field is mapped, you’ll see a pulsing yellow dot on that pass field, indicating it has been successfully linked to a form input.
To remove a mapping, click on that pass field again and select Remove Mapping.
Step 4: Save and Share form
Click Save and Continue. You will receive a form link that you can share with users. When they submit the form, the pass will be generated with all the mapped form input values.

Once a field is mapped, you’ll see a pulsing yellow dot on that pass field, indicating it has been successfully linked to a form input.
Step 7: Managing Your Created Form
Click Save and Continue. You will receive a form link that you can share with users. When they submit the form, the pass will be generated with all the mapped form input values.
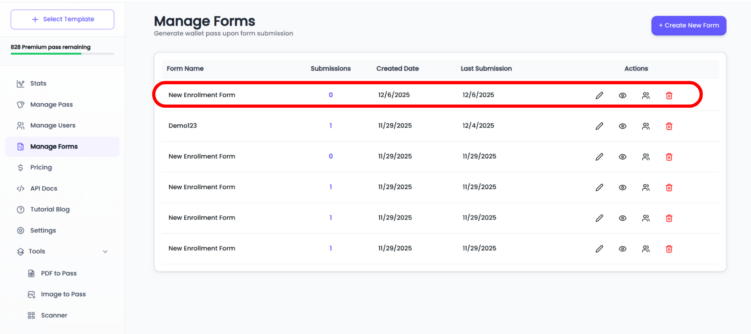
- In the Manage Forms section, you’ll see the newly created form. You can view the number of submissions it has received.
- Click the Edit icon to update or modify the form.
- To view the users who have signed up through this form, click the Users icon. This opens the Manage Users page, where you can see all customers who submitted the form.
- From Manage Forms, you can also preview the form or delete it if needed.
Quick Tip:
Before printing, test the QR code on multiple devices to ensure it functions flawlessly.
For more ideas on leveraging wallet passes in your marketing strategy, visit the AddToWallet.co Blog.


Get Started For Free
Join the expanding network of more than 10k+ users
No credit card needed to start trial
addtowallet.co © All Rights Reserved