How to Add Location to Wallet Passes
Adding a location to your Google and Apple Wallet passes is a great way to ensure that your customers have all the information they need right at their fingertips. Follow these simple steps to add a location to your passes using AddToWallet.co.
Step 1: Select a Template
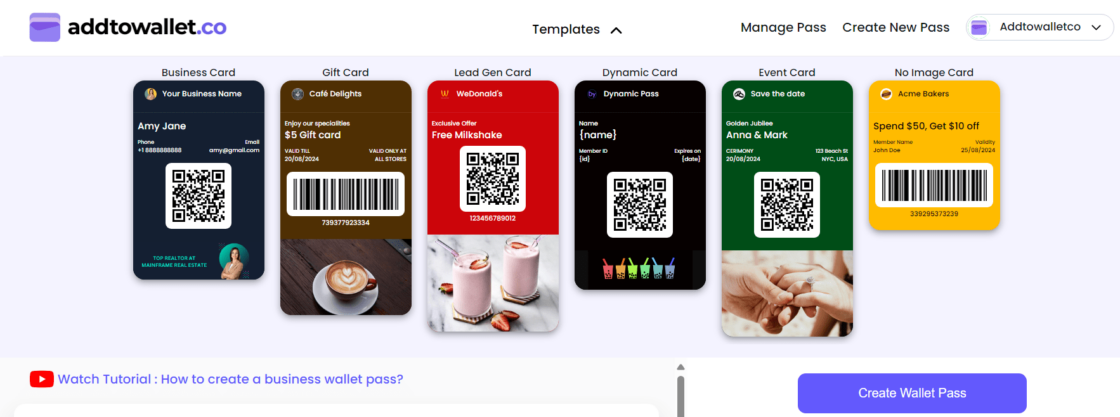
First, login to your AddToWallet.co account. Once you're in, choose the template that best suits your pass. This will serve as the foundation for adding your location information.

Step 2: Access the 'Back of the Pass' Section
After selecting your template, locate the "Back of the pass" section. This is where you'll be able to add additional information, including the location. Click on the "Back of the pass" collapse to expand the options.

Step 3: Add a Location Section
Next, click on the "Add section" button within the "Back of the pass" section. From the list of available options, choose "Location" in the selector. This will allow you to input the location details.

Step 4: Enter the Location Details
Now, it's time to add your location. In the location fields, paste the location URL and give it a title, such as "Office Location." This title will appear on the pass, making it easy for users to identify.
Step 5: Create Your Pass
Once you've added the location details, simply click on "Create pass." Your pass, complete with the location information, is now ready to be added to Google or Apple Wallet.
Conclusion
By following these steps, you've successfully added a location to your Google or Apple Wallet pass. This small addition can make a big difference in providing convenience and clear information to your users. If you have any questions or need further assistance, feel free to reach out to our support team.
Get Started For Free
Join the expanding network of more than 10k+ users
No credit card needed to start trial
addtowallet.co © All Rights Reserved


