How to Set Up Custom Domains with AddToWallet
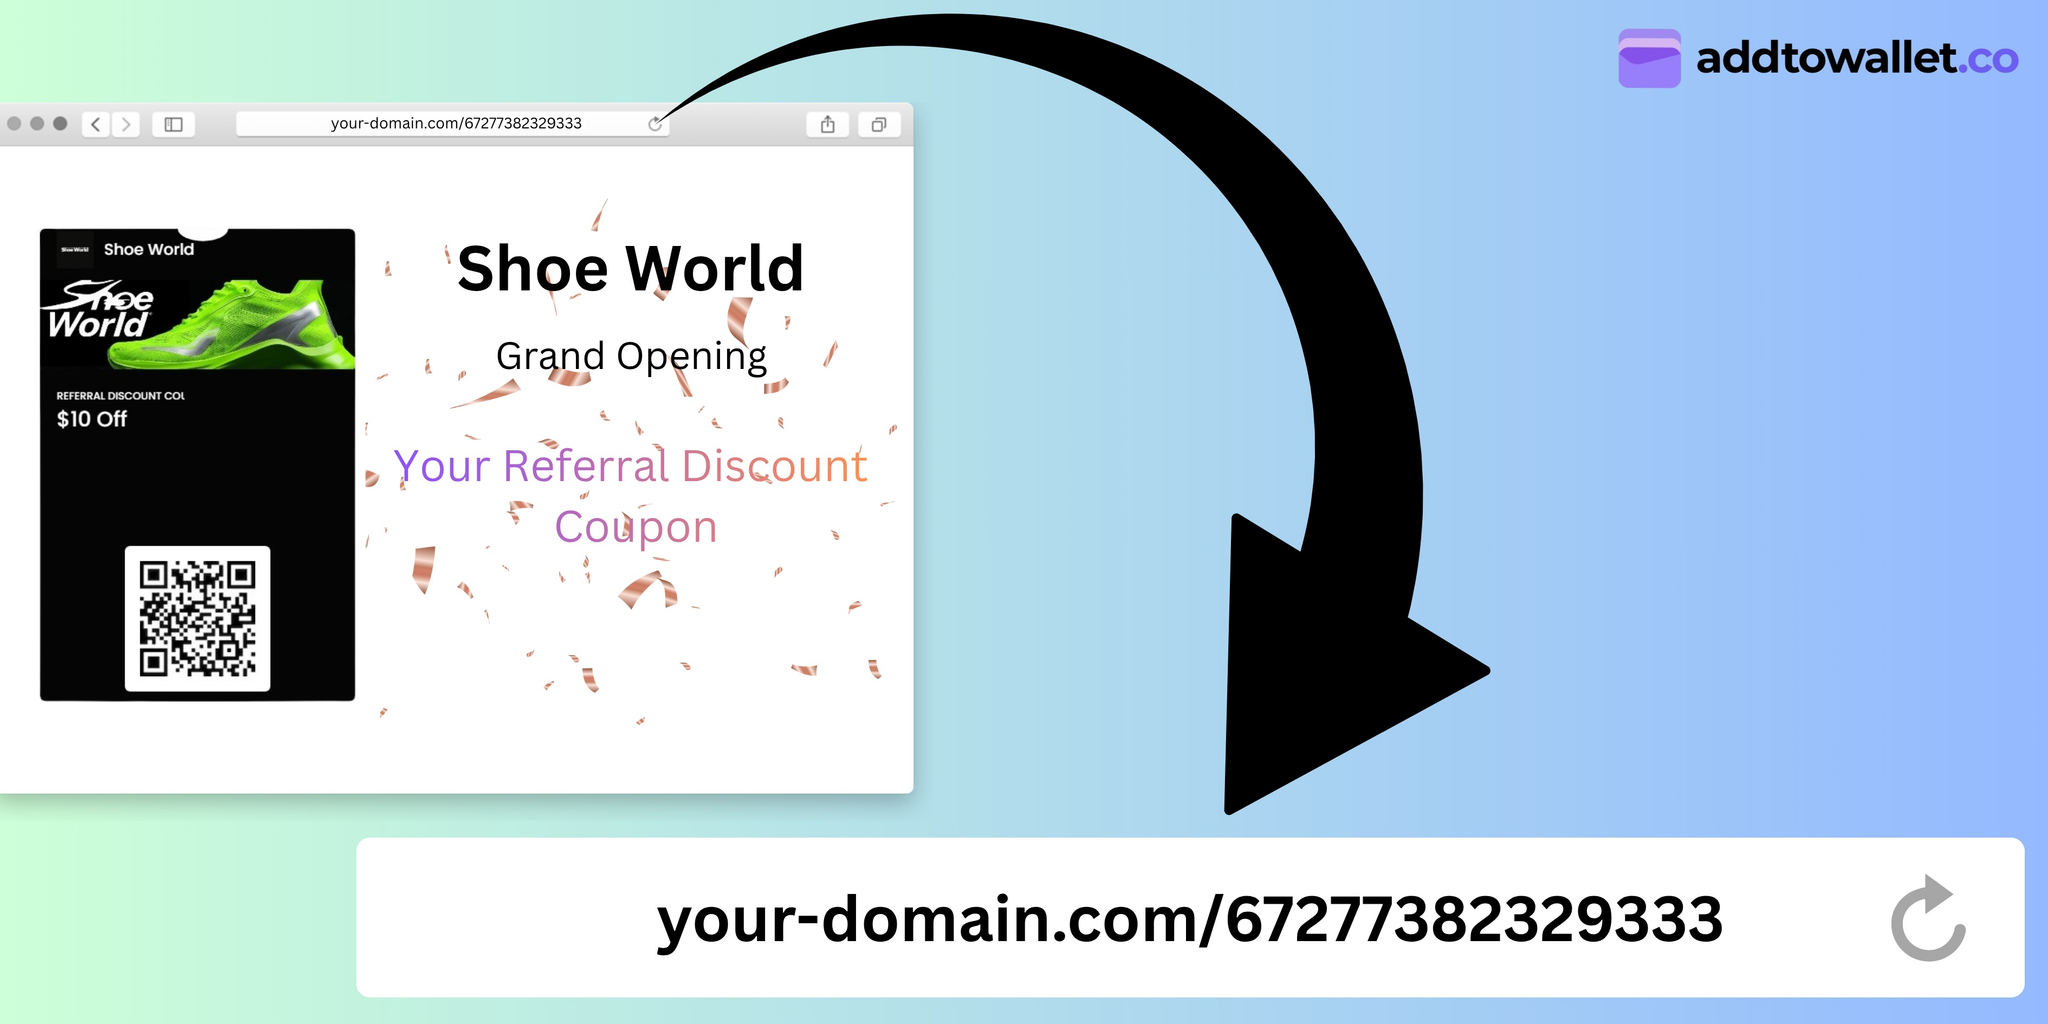
Custom domains allow you to display your digital wallet passes on your own domain, providing a seamless, branded experience for your users. This guide will walk you through the entire process of setting up custom domains and integrating the AddToWallet SDK into your website.
What Are Custom Domains?
Custom domains in AddToWallet enable you to host your digital passes on your own website domain instead of using the default AddToWallet URLs. This feature is available for Small Business and Enterprise plan users and provides several benefits:
- Brand Consistency: Maintain your brand identity by hosting passes on your domain
- Better User Experience: Users see your domain, building trust and familiarity
- SDK Integration: Embed wallet passes directly into your website using the AddToWallet SDK
- Customization: Full control over the pass display experience
Prerequisites
Before you begin, ensure you have:
- An active AddToWallet account with a Small Business or Enterprise subscription
- Access to your website's HTML files or content management system
- A custom domain URL where you want to display your passes (e.g.,
https://yourdomain.com/passes)
Step-by-Step Setup Guide
Step 1: Navigate to Settings
Log in to your AddToWallet account and navigate to the Settings section. Look for the Custom Domain or Custom Pass Share URL option.
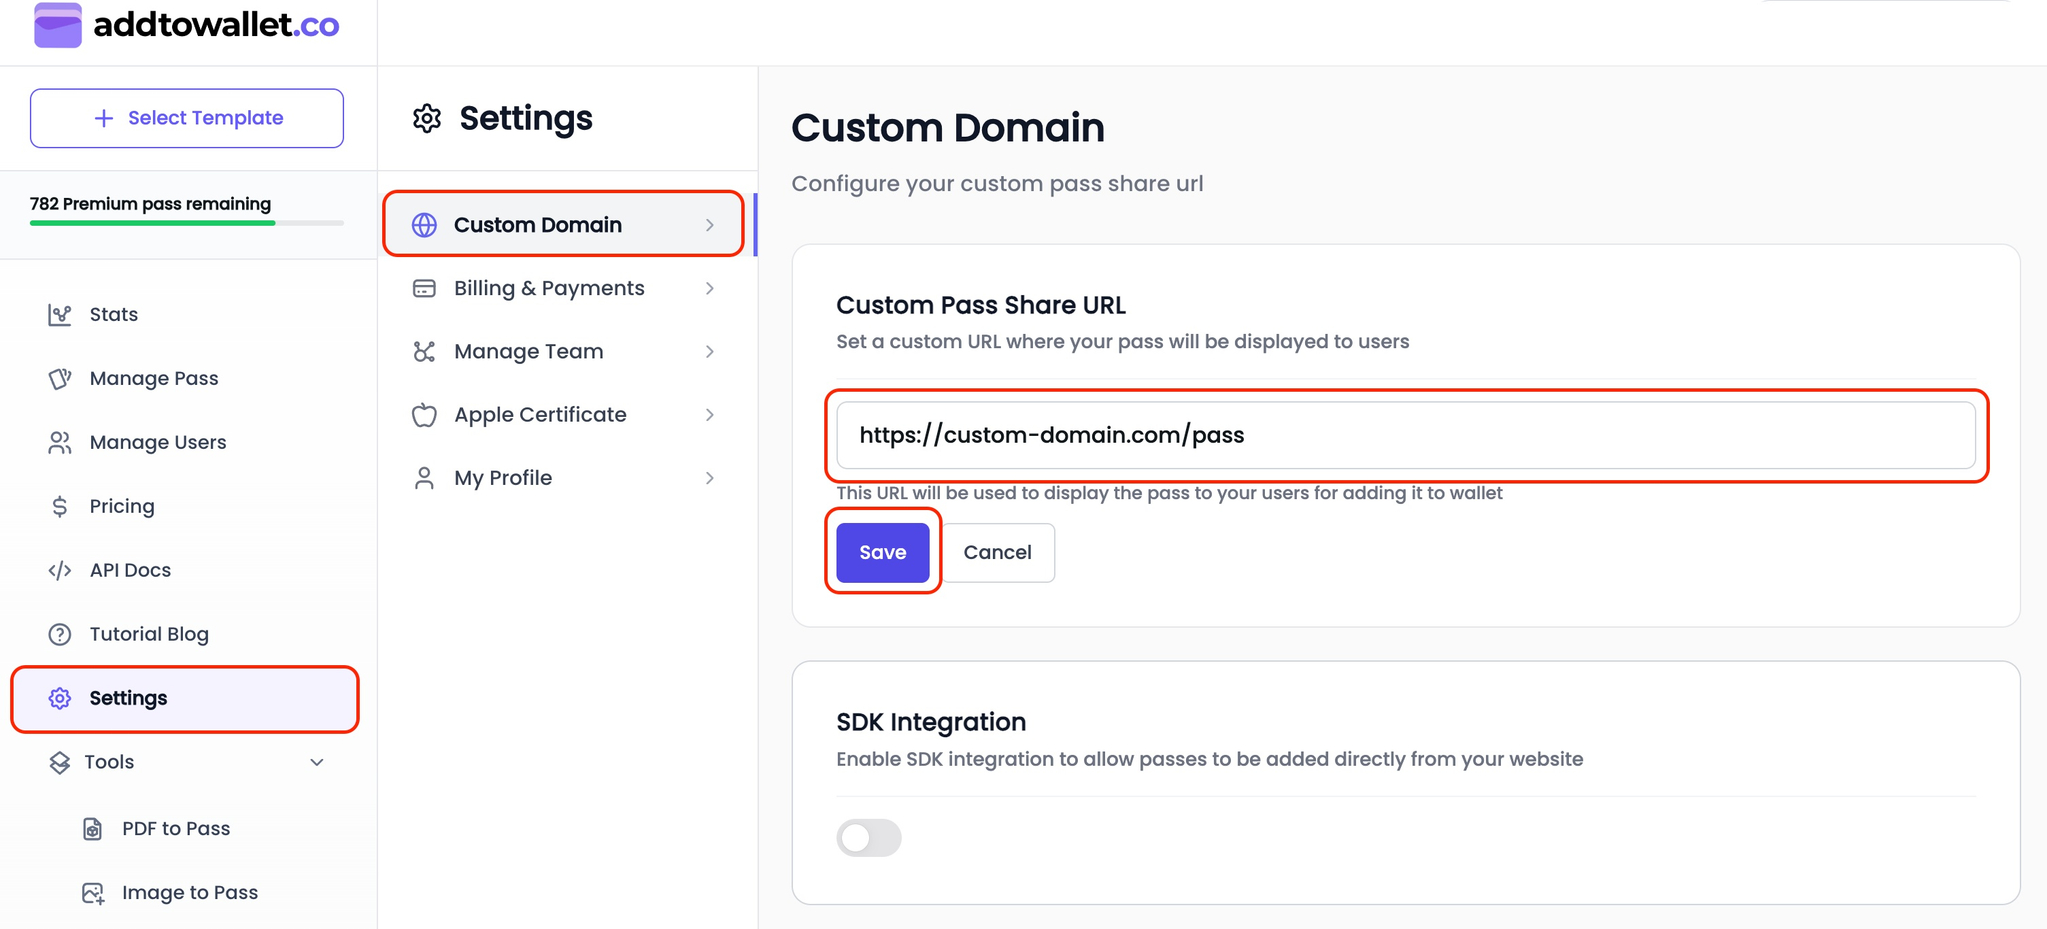
Screenshot of the AddToWallet Custom Domain settings, showing an entered domain and enabled SDK integration.
Step 2: Configure Your Custom Domain
In the Custom Domain settings:
- Enter your custom domain URL in the Custom Pass Share URL field (e.g.,
https://yourdomain.com/preview) - Ensure the URL is valid and accessible (must start with
http://orhttps://) - Click Save to store your custom domain settings
Note: Make sure your custom domain is properly configured and accessible. The URL should be publicly reachable for the integration to work correctly.
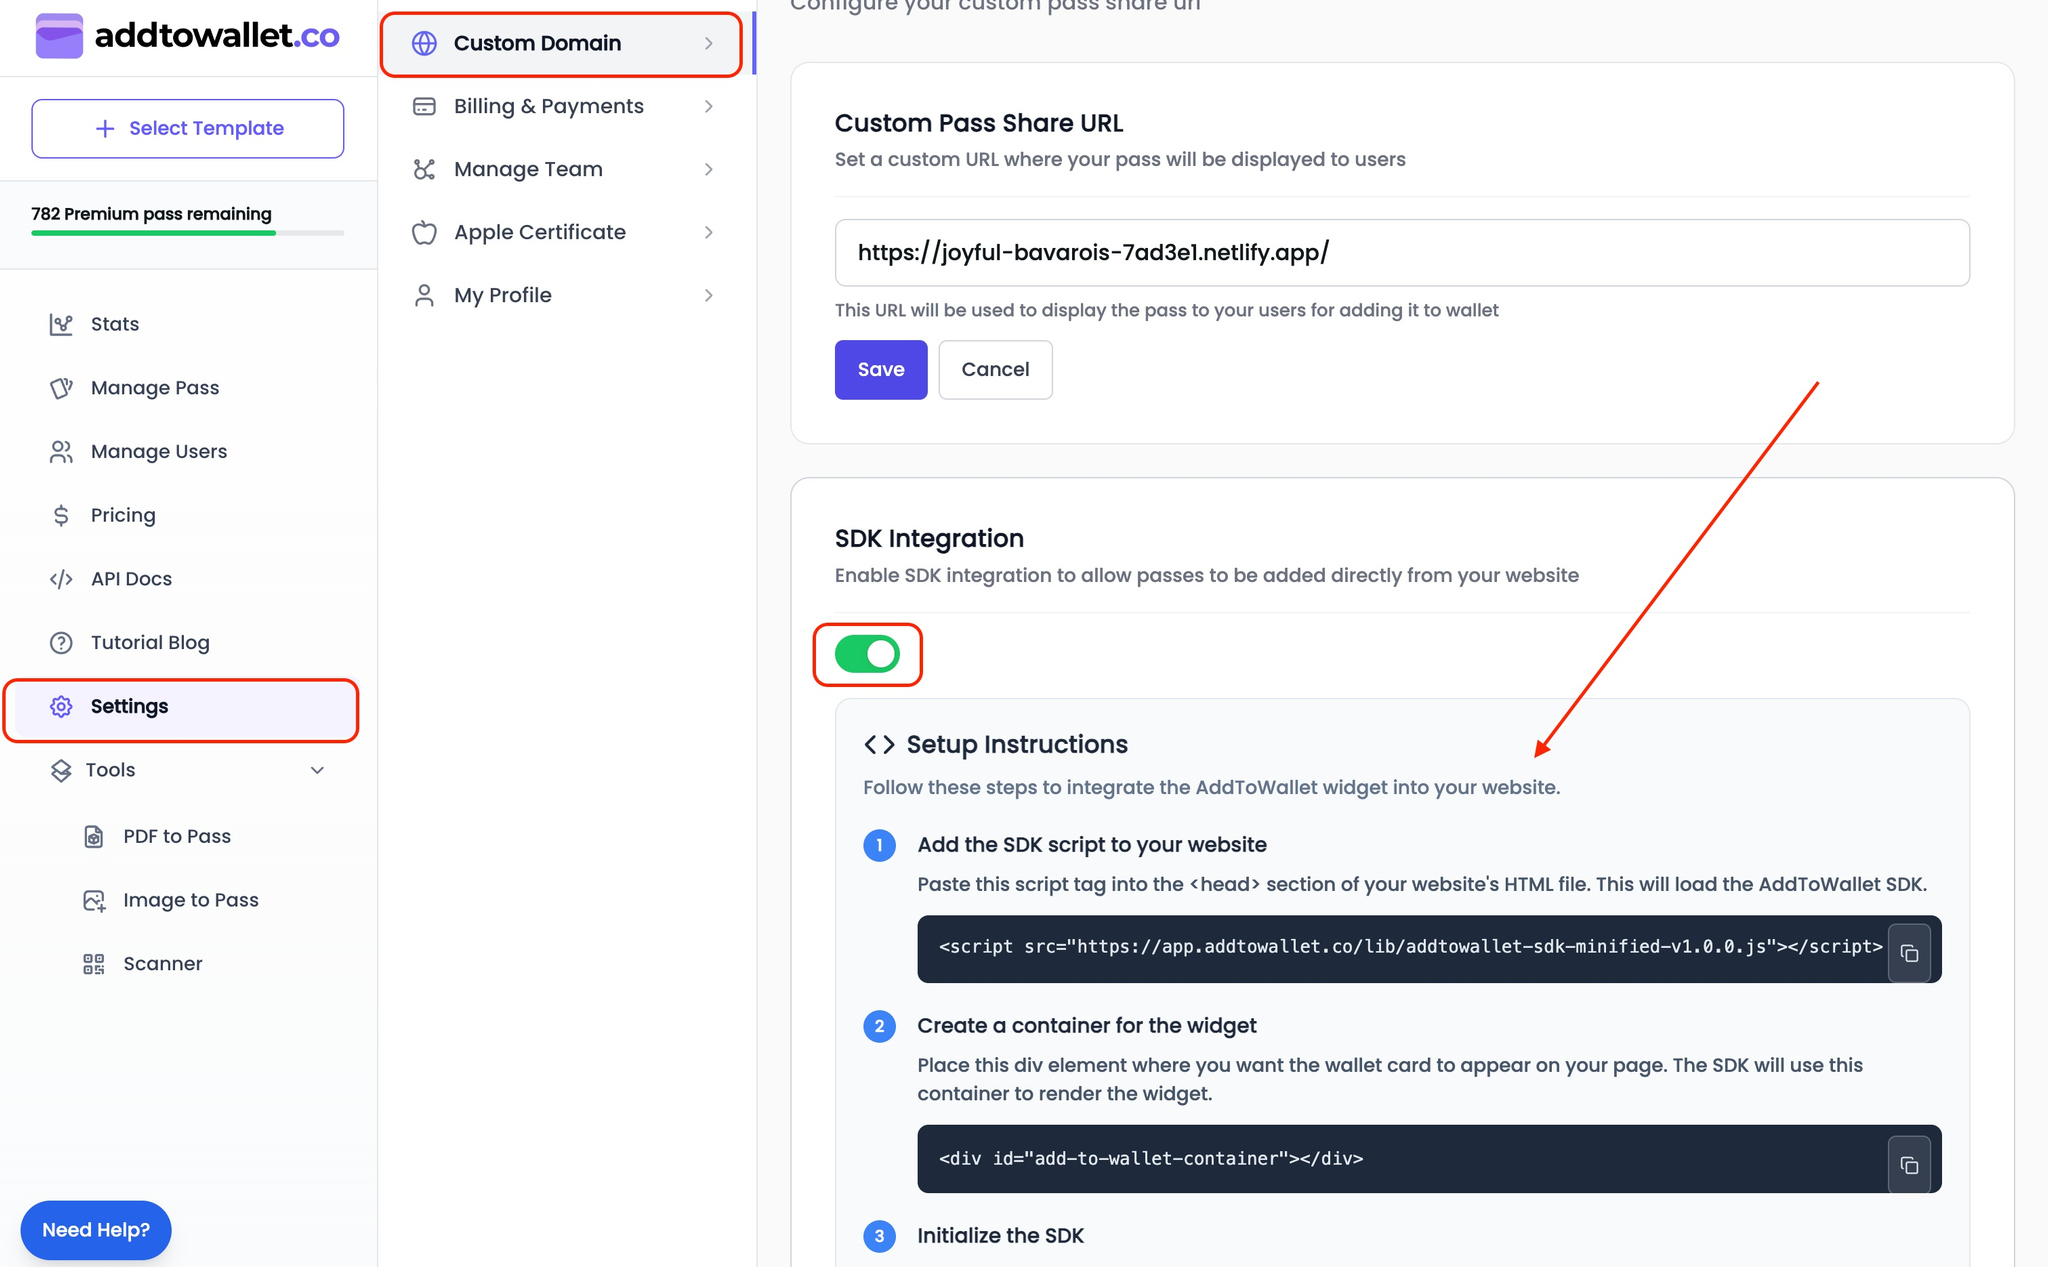
Screenshot of the AddToWallet SDK integration code section.
Step 3: Enable SDK Integration
After setting your custom domain:
- Toggle the SDK Integration switch to enable it
- Once enabled, you'll see the SDK integration code and setup instructions
- Follow the steps below to integrate the SDK into your website
SDK Integration Steps
Step 4: Add the SDK Script to Your Website
First, you need to include the AddToWallet SDK script in your website. Add this script tag to the <head> section of your HTML file:
<script src="https://app.addtowallet.co/lib/addtowallet-sdk-minified-v1.0.0.js"></script>
Step 5: Create a Container for the Widget
Next, create a container element where the wallet widget will be displayed. Place this <div> where you want the pass to appear on your page:
<div id="add-to-wallet-container"></div>
Step 6: Initialize the SDK Widget
Finally, initialize the SDK widget by adding this script before the closing </body> tag. Replace "your-pass-slug-here" with your actual pass slug:
<script>
  document.addEventListener("DOMContentLoaded", function() {
    // Create a new wallet widget
    const widget = AddToWalletSDK.create(
      "add-to-wallet-container",
      "your-pass-slug-here",
      {
        // Add any additional options here
      }
    );
  });
</script>
Important: Replace "your-pass-slug-here" with your actual pass slug. You can find your pass slug in the AddToWallet dashboard when viewing or editing your pass.
Widget Configuration Options
The AddToWallet SDK supports various configuration options to customize the widget's appearance and behavior. Here are the available options:
{
  // Dimensions and Styling
  width: "100%",              // Width of the widget
  height: "600px",            // Height of the widget
  borderRadius: "12px",       // Border radius of the widget
  boxShadow: "0 4px 20px rgba(0, 0, 0, 0.1)", // Box shadow
  minHeight: "400px",         // Minimum height
  maxHeight: "800px",         // Maximum height
  padding: "0px",             // Padding inside the widget
  margin: "0px",              // Margin around the widget
  backgroundColor: "#ffffff",  // Background color
  zIndex: 1000,               // Z-index of the widget

  // Spinner Options
  showSpinner: false,         // Show loading spinner
  spinnerColor: "#007AFF",    // Spinner color
  spinnerSize: "40px",        // Spinner size

  // Behavior and Callbacks
  retryAttempts: 3,           // Number of retry attempts
  retryDelay: 2000,           // Delay between retries (ms)
  timeout: 30000,             // Timeout for loading (ms)

  // Event Callbacks
  onLoad: function() {
    console.log("Widget loaded successfully!");
  },
  onError: function(error) {
    console.error("Widget error:", error);
  },
  onWalletClick: function(wallet) {
    console.log("User clicked on:", wallet);
  },
  onResize: function(dimensions) {
    console.log("Widget resized:", dimensions);
  },
  onRetry: function(attempt) {
    console.log("Retrying attempt:", attempt);
  },
  logEvent: function(eventName, eventData) {
    console.log("Event:", eventName, eventData);
  }
}
Complete Example Website
Here's a complete example of an HTML page that integrates the AddToWallet SDK:
<!DOCTYPE html>
<html lang="en">
<head>
    <meta charset="UTF-8">
    <meta name="viewport" content="width=device-width, initial-scale=1.0">
    <title>AddToWallet Custom Domain Integration Example</title>
    <!-- Add the SDK script to your website -->
    <script src="https://app.addtowallet.co/lib/addtowallet-sdk-minified-v1.0.0.js"></script>
    <style>
        body {
            font-family: Arial, sans-serif;
            margin: 20px;
            background-color: #f5f5f5;
        }
        .container {
            max-width: 800px;
            margin: 0 auto;
            padding: 20px;
            background-color: white;
            border-radius: 8px;
            box-shadow: 0 2px 10px rgba(0, 0, 0, 0.1);
        }
        h1 {
            color: #333;
            margin-bottom: 10px;
        }
        #add-to-wallet-container {
            margin: 20px 0;
        }
    </style>
</head>
<body>
    <div class="container">
        <h1>Welcome to Our Custom Domain Page!</h1>
        <p>This is an example page demonstrating the AddToWallet SDK integration on a custom domain.</p>

        <h2>Your Digital Pass</h2>
        <!-- Create a container for the widget -->
        <div id="add-to-wallet-container"></div>

        <h2>More Content</h2>
        <p>Feel free to add more content here. The AddToWallet widget above will display your digital pass directly on your website.</p>
    </div>

    <!-- Initialize the SDK -->
    <script>
        document.addEventListener("DOMContentLoaded", function() {
            // Replace 'your-pass-slug-here' with your actual pass slug
            const widget = AddToWalletSDK.create(
                "add-to-wallet-container",
                "your-pass-slug-here",
                {
                    width: "100%",
                    minHeight: "500px",
                    borderRadius: "12px",
                    showSpinner: true,
                    spinnerColor: "#007AFF",
                    onLoad: function() {
                        console.log("Wallet widget loaded successfully!");
                    },
                    onError: function(error) {
                        console.error("Error loading widget:", error);
                        alert("Failed to load wallet widget. Please try again later.");
                    },
                    onWalletClick: function(wallet) {
                        console.log("User clicked on:", wallet);
                    }
                }
            );
        });
    </script>
</body>
</html>
Testing Your Integration
After integrating the SDK:
- Open your website page where you've added the SDK
- Check the browser console for any errors
- Verify that the wallet widget loads and displays your pass correctly
- Test the "Add to Wallet" functionality on both mobile and desktop devices
- Ensure the widget is responsive and looks good on different screen sizes
Troubleshooting
If you encounter issues:
- Widget not loading: Check that the SDK script URL is correct and accessible
- Pass not displaying: Verify that your pass slug is correct and the pass exists in your AddToWallet account
- Custom domain not working: Ensure your custom domain URL is properly configured in AddToWallet settings
- Console errors: Open your browser's developer console to check for JavaScript errors
Conclusion
Congratulations! You've successfully integrated custom domains and the AddToWallet SDK into your website. Your users can now add digital passes directly from your domain, providing a seamless and branded experience.
For more information and advanced customization options, visit the AddToWallet API Documentation.
Get Started For Free
Join the expanding network of more than 10k+ users
No credit card needed to start trial
addtowallet.co © All Rights Reserved