Create Apple wallet pass for free
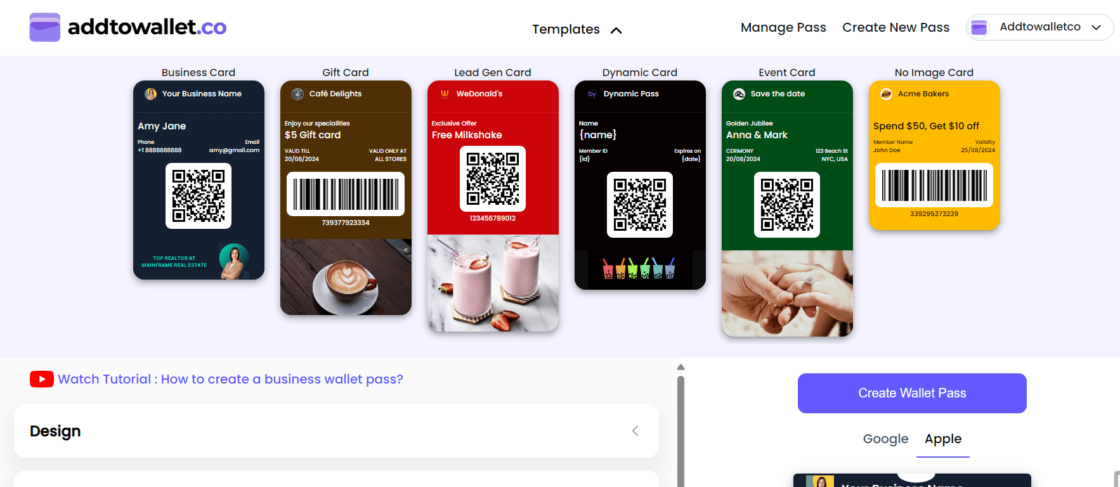
Step 1: Select a Template
First, open the AddToWallet.co templates section. You can choose from various templates for business cards, lead generation passes, or membership passes. If you prefer, you can use the default template provided.
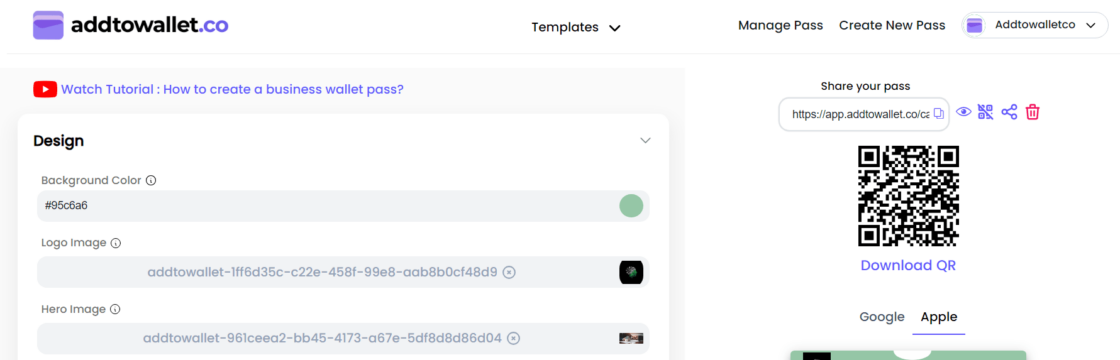
Step 2: Customize Your Pass
After selecting a template, you’ll see a collapsible form where you can make necessary changes. You can customize the background color, images, front texts, and back texts of the pass.

Step 3: Create Your Wallet Pass
Once you’re satisfied with your customization, click the "Create wallet pass" button.

Step 4: Copy the Generated Link
A link will appear on top of the preview. Copy this link by clicking copy icon.

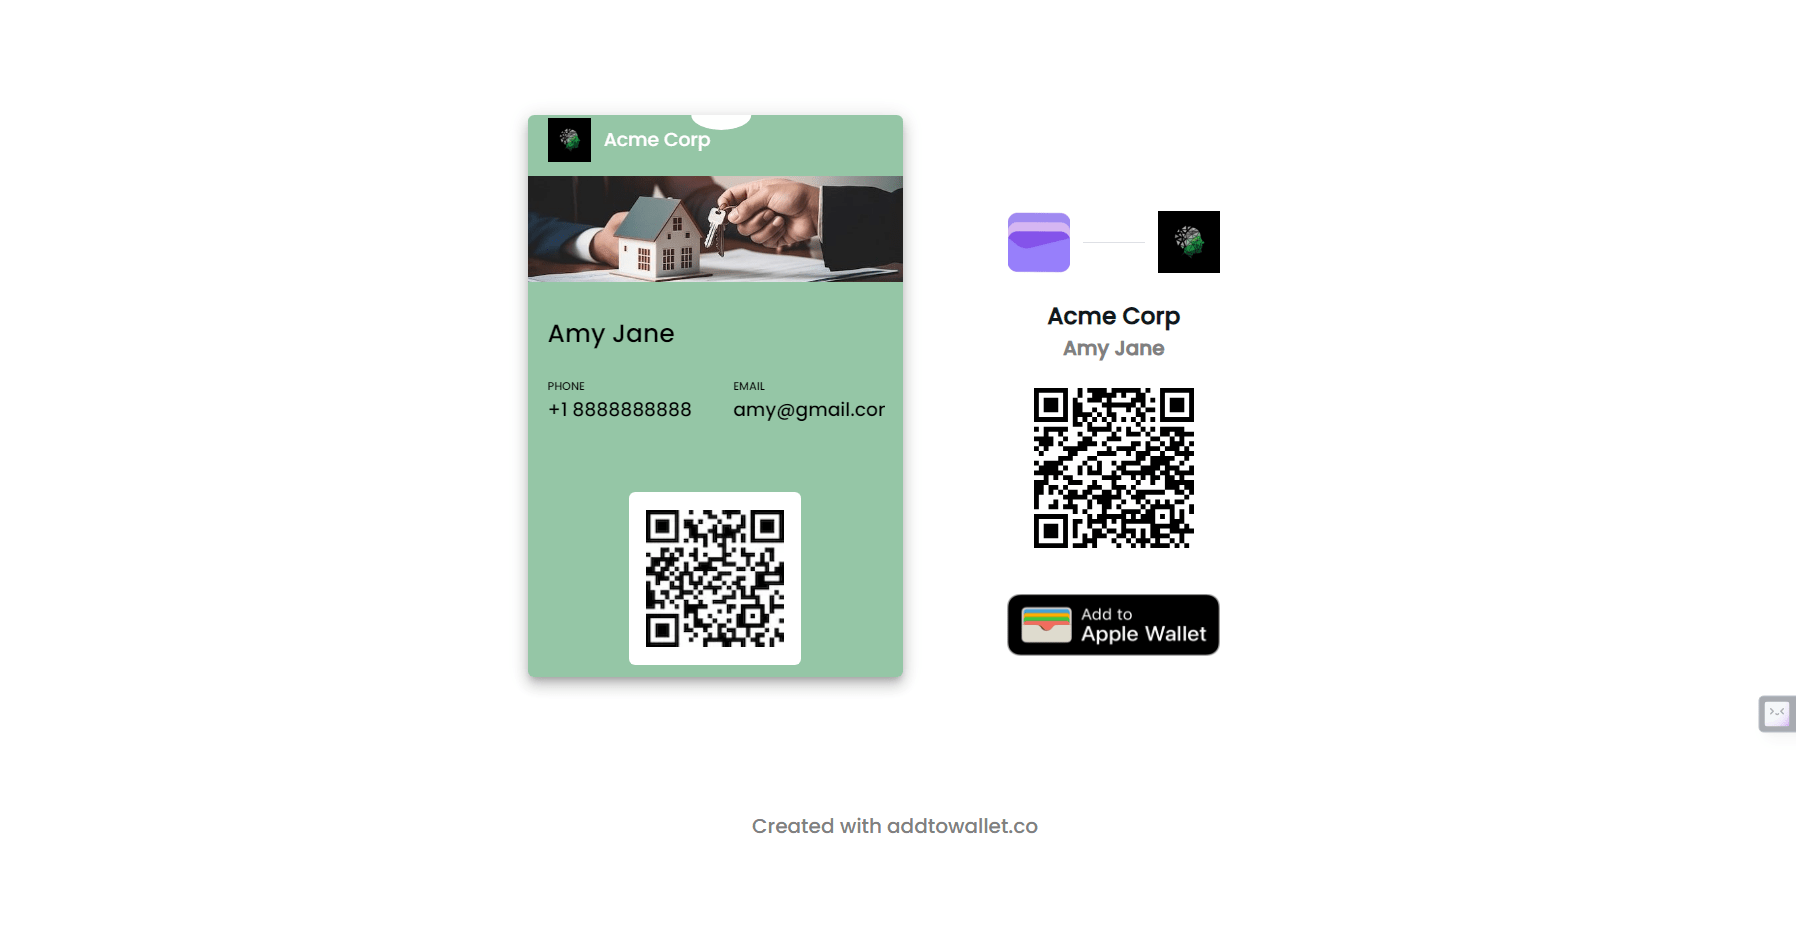
Step 5: Preview the Generated Pass and Add to Wallet
Once you have created your wallet pass, you can easily preview it clicking the preview icon next to copy icon and add it to your wallet.

Preview and Add to Wallet
Click on the preview icon next to the generated link. This action will redirect you to download the pass. If you are using iOS or macOS, the pass will automatically preview and prompt you to add it to your wallet.
Download as QR Code
You can also download the pass as a QR code. This QR code can be used in various ways, such as:
- Posters
- Printed media
- Marketing materials
Using a QR code allows users to easily scan and add the pass to their wallet, providing a versatile way to distribute your passes.
Done!
This simple guide makes it easy for you to integrate a wallet pass button on your website using AddToWallet.co. Happy creating!
Get Started For Free
Join the expanding network of more than 10k+ users
No credit card needed to start trial
addtowallet.co © All Rights Reserved